Wednesday, December 29, 2010

Somewhere Over the Rainbow...Cake

With cupcakes being my forte lately and a box of cake mix and food coloring staring me down, I decided to try to make a rainbow cake. The bright colors bring a smile to my face…even with the lingering thought of going back to work on my mind.

The kids and I had a great time separating the cake batter (and frosting) to make 6 different colors to add to our cake! Having multiple colors worked out perfectly as each girl got to “stir” 2 different colors…of course, with some arguments of who got to stir what color.


After the battle was over and the batter was beautifully colored, the layering process began. I have to admit that layering 6 different colors in a cake pan is not as easy as it is with cupcakes. The batter did not spread as easily and one side of my cake was thicker than the other…but, with a little frosting, it was easily hidden.


Batter is separated and ready to go...


Food coloring is added and all looks pretty


Let the layering begin


Gotta love those dirty dishes!


Fresh out of the oven and ready to cool


Look how pretty the pan is even after the cake is removed


The cake was a little thinner than I hoped, but still turned out delicious!


First coat of frosting is added


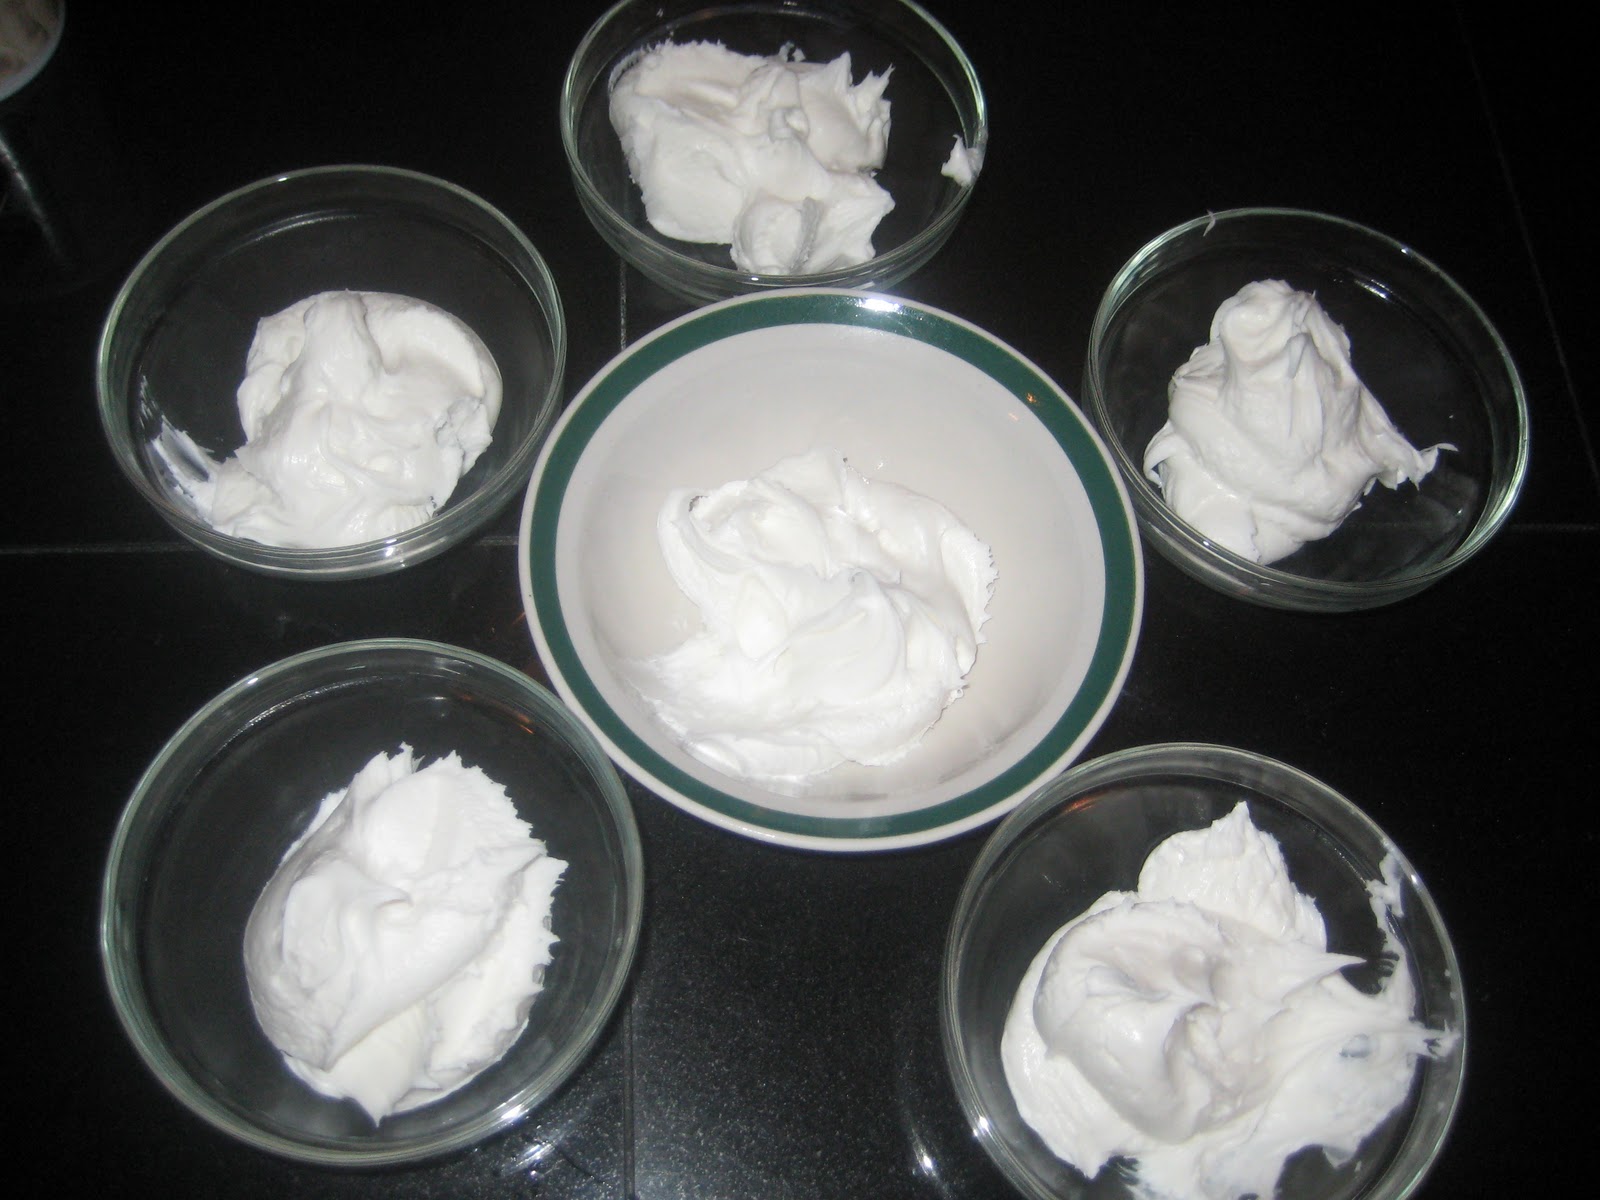
Now it's time to separate the frosting to add some fun colors


Colors are added and ready to decorate the cake


*Tip - use an empty frosting can to fill your piping bags. It frees up both hands and makes it easier to fill the bags.


I used a 1M tip to add each color to the cake for a rainbow effect


Side picture of the cake


Slices are cut and here is a sneak peak of the inside of the cake


A pretty piece of colorful cake, ready to be eaten!!


Looks like the kids enjoyed the cake...all that's left are crumbs!


Photobucket

Saturday, December 25, 2010

Two-Tone Frosting

I found this technique on Grin and Bake It to frost cupcakes with two colors and thought I'd give it a "whirl" (pun intended lol) next time I made cupcakes.  


Well the time came and I made some cupcakes, got my frosting all ready with some awesome colors, and then realized I didn’t have any plastic wrap! With it being two days before Christmas, I didn’t feel like braving the crowd only for this, so I figured I’d use the Press ‘n Seal instead. What a bad idea!! While this stuff is fantastic for covering food…it’s not so great for trying to frost two-tone cupcakes as it likes to stick to everything possible!

I was able to frost some of the cupcakes…and boy did they turn out nicely!! But soon gave up and just piped the rest with a 1M tip and called it good. Next time I will definitely make sure I have plastic wrap as I loved out beautifully the swirls of colors turned out!

*UPDATE*
I made Pink Lemonade cupcakes and piped the cupcakes using the two tone frosting technique and had plastic wrap this time...worked wonderfully!!

Two-Tone Frosting


Step 1: Make your favorite frosting recipe, or use jars of store bought frosting.  Separate the frosting in half into two bowls. Use gel colors to dye the frosting. Remember, this type of food coloring darkens after a few hours.

Step 2: Take a piece of plastic wrap approximately 8″ – 10″. Place a scoop of frosting in the center, 1″ from the edge. Don’t use too much frosting or it will seep through one end. Do not use Press ‘n Seal!

Step 3: Fold the plastic wrap in half so that the sides match up.

Step 4:  Starting on the side with the icing, roll it to the other side. Twist one end of the wrap and tie into a knot.

Step 5: Insert into a piping bag that is ready to go with a coupler and tip. I like to use the 1M Wilton star tip.

Step 6: Repeat steps 2-5 with the second icing color.

Step 7: Pipe cupcakes!


Photobucket

Candy Cane Cupcakes

With the holiday’s right around the corner, I wanted to do something creative to celebrate…and what better way than with candy cane cupcakes! I tried to “think outside the box” and came up with the neat idea of using red gel food coloring and doing red and white striped cupcakes with vanilla frosting and crushed candy canes on top. The end result was fantastic! The peppermint flavor was not too overpowering and the cupcakes were super moist!

So with this idea in mind, my daughters and I headed to the store to buy the ingredients…only to discover the store did not carry classic peppermint candy canes! I was flabbergasted! What store doesn’t carry your traditional, peppermint candy cane? Me, being the determined (some might replace “determined” with something else…lol) person that I am, sought out to look just one more time to see if I missed them down an aisle. That’s when I got the brilliant idea to use Brach’s Star Brites Peppermint candy! Needless to say, I did the happy dance knowing, once again, I was undefeated haha!!

I used Wilton "no taste" red gel food coloring; however, you can also use Betty Crocker, which I have used in the past to make Colorburst Cupcakes


Candy Cane Cupcakes


1 white cake mix (I prefer Pillsbury)
2 eggs
1 C sour cream
1/2 C milk
1/3 C vegetable oil
Red gel good coloring  


Combine all ingredients until incorporated (about 30 seconds). Scrape sides of bowl and then beat on med-high speed for 3 minutes.

Divide batter in half; one for the red stripes and one for the white stripes. Use the red food coloring to color batter to desired intensity.

To get a layered stripe like I used, you'll want to alternate a spoonful of the red colored batter with the regular batter. The batter is thick, so it won't spread on its own. A great tip is to set out a little bowl of water where you're working. Dip your finger in the water and then gently spread the batter out. The water will make it so the batter doesn't stick to your fingers.

Bake them according to the package directions, until a toothpick comes out dry.


Look how nicely they turned out! 


Waiting to cool and be frosted...meanwhile the girls and I are "smashing" the candy cane topping!


Frosted and "positioned" in front of the centerpiece on the table for a nice holiday visual effect


The crushed candy cane sprinkles looked amazing (as well as tasted amazing!!)


Photobucket

Friday, December 24, 2010

Colorburst Cupcakes

Rainbows always seem to make me smile...and what better way to brighten your day than a rainbow cupcake! I found this recipe on One Day When I have Time and had to try them! They are time consuming (so make sure you have some time set aside), but well worth it! My daughters love biting into the cupcakes and seeing the bright colors!


You'll want to use gel food coloring instead of the liquid bottles as the colors are much brighter. I used Betty Crocker found in my local Walmart store; however, Wilton is a good brand to use as well (just make sure to get the red food coloring that says "no taste").


Colorburst Cupcakes

1 white cake mix (I prefer Pillsbury)
2 eggs
1 C sour cream
1/2 C milk
1/3 C vegetable oil
Combine all ingredients until incorporated (about 30 seconds). Scrape sides of bowl and then beat on med-high speed for 3 minutes.

Divide batter according to how many colors you are using. I used 5 colors and it worked out to a little over 1 cup for each color, but each cake brand will be slightly different.


Use food coloring to color batter to desired intensity.


To get a layered stripe like I used, you'll want to put a spoonful of each color in the cupcake one at a time. The batter is thick, so it won't spread on its own.
A great tip is to set out a little bowl of water where you're working. Dip your finger in the water and then gently spread the batter out. The water will make it so the batter doesn't stick to your fingers.

Another tip
is to use a measuring spoon and some water to measure out how many teaspoons/tablespoons are going to fit in your cupcake. Then divide that by how many colors you have so you know how much of each color to use for each cupcake. For my 5 colors, it worked out perfectly with 2 t of each color in each cupcake. So I put in 2 t of blue in the bottom of each cupcake and spread it out with my finger. Then I put in 2 t of green on top of that, then yellow, etc.

Bake them according to the package directions, until a toothpick comes out dry. 


First batch we layered blue, green, yellow, orange, red 


Second batch we reversed the colors


Ooh! Aren't they pretty??


Look, even the wrapper is colorful...how fun!


Sneak peak inside the cupcake


Frosted, sprinkled, and packed up in the Cupcake Courier, ready to be eaten!


Photobucket
Photobucket Photobucket