With cupcakes being my forte lately and a box of cake mix and food coloring staring me down, I decided to try to make a rainbow cake. The bright colors bring a smile to my face…even with the lingering thought of going back to work on my mind.
The kids and I had a great time separating the cake batter (and frosting) to make 6 different colors to add to our cake! Having multiple colors worked out perfectly as each girl got to “stir” 2 different colors…of course, with some arguments of who got to stir what color.
After the battle was over and the batter was beautifully colored, the layering process began. I have to admit that layering 6 different colors in a cake pan is not as easy as it is with cupcakes. The batter did not spread as easily and one side of my cake was thicker than the other…but, with a little frosting, it was easily hidden.
Batter is separated and ready to go...
Fresh out of the oven and ready to cool
Look how pretty the pan is even after the cake is removed
The cake was a little thinner than I hoped, but still turned out delicious!
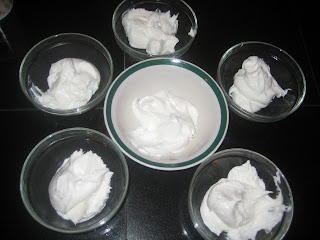
Now it's time to separate the frosting to add some fun colors
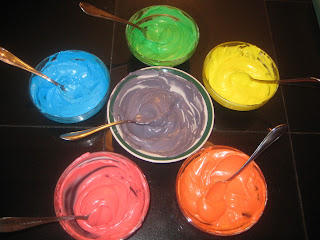
Colors are added and ready to decorate the cake
*Tip - use an empty frosting can to fill your piping bags. It frees up both hands and makes it easier to fill the bags.
I used a 1M tip to add each color to the cake for a rainbow effect
Side picture of the cake
Slices are cut and here is a sneak peak of the inside of the cake
A pretty piece of colorful cake, ready to be eaten!!
Looks like the kids enjoyed the cake...all that's left are crumbs!


